
Post: Timber window replacement checklist: a Melbourne homeowner’s guide to a smooth install
Tired draughty or rotten timber windows drag down your home’s comfort and look. Replacing them in Melbourne means juggling glazing specs, heritage details, and installation steps—all in the right order. This timber window replacement checklist breaks it down clearly, so you know what to expect and can get your custom timber windows installed smoothly from measure to handover. For more details, check out this link.
Assessment and Planning

Before diving into the specifics, let’s start with a solid foundation. The first step in window replacement is thorough assessment and planning. This ensures you’re prepared for each phase of your project.
Evaluate Existing Windows
Begin by examining your current windows. Look for signs like rot, draughts, or condensation. These indicate it’s time for replacement. Consider the style of your home, whether modern or heritage, as this influences your new window choice. Old, draughty windows can significantly impact energy efficiency, leading to higher utility bills. A comprehensive evaluation helps you decide if full replacement or simple repairs are necessary. For more signs, read Top Signs It’s Time to Replace Your Timber Windows.
Consider Local Regulations
Navigating the local building codes is crucial. Melbourne, with its unique mix of modern and heritage homes, has specific guidelines. Check with council regulations to ensure compliance, particularly if you live in a heritage area. Ignoring these can lead to costly fines or required modifications. Reach out to local authorities or consult resources like the Monash City Council for guidance.
Determine Project Scope
Defining the scope of your project is key to a successful installation. Decide if you’re replacing all windows at once or in stages. Consider the impact on your home’s aesthetics and budget. Will you require custom designs or standard options? Clear scope definition helps align expectations with your contractor, ensuring a smooth process from start to finish.
Specification and Customisation
With a solid plan in place, it’s time to make your new windows uniquely yours. This involves choosing materials, energy options, and heritage considerations.
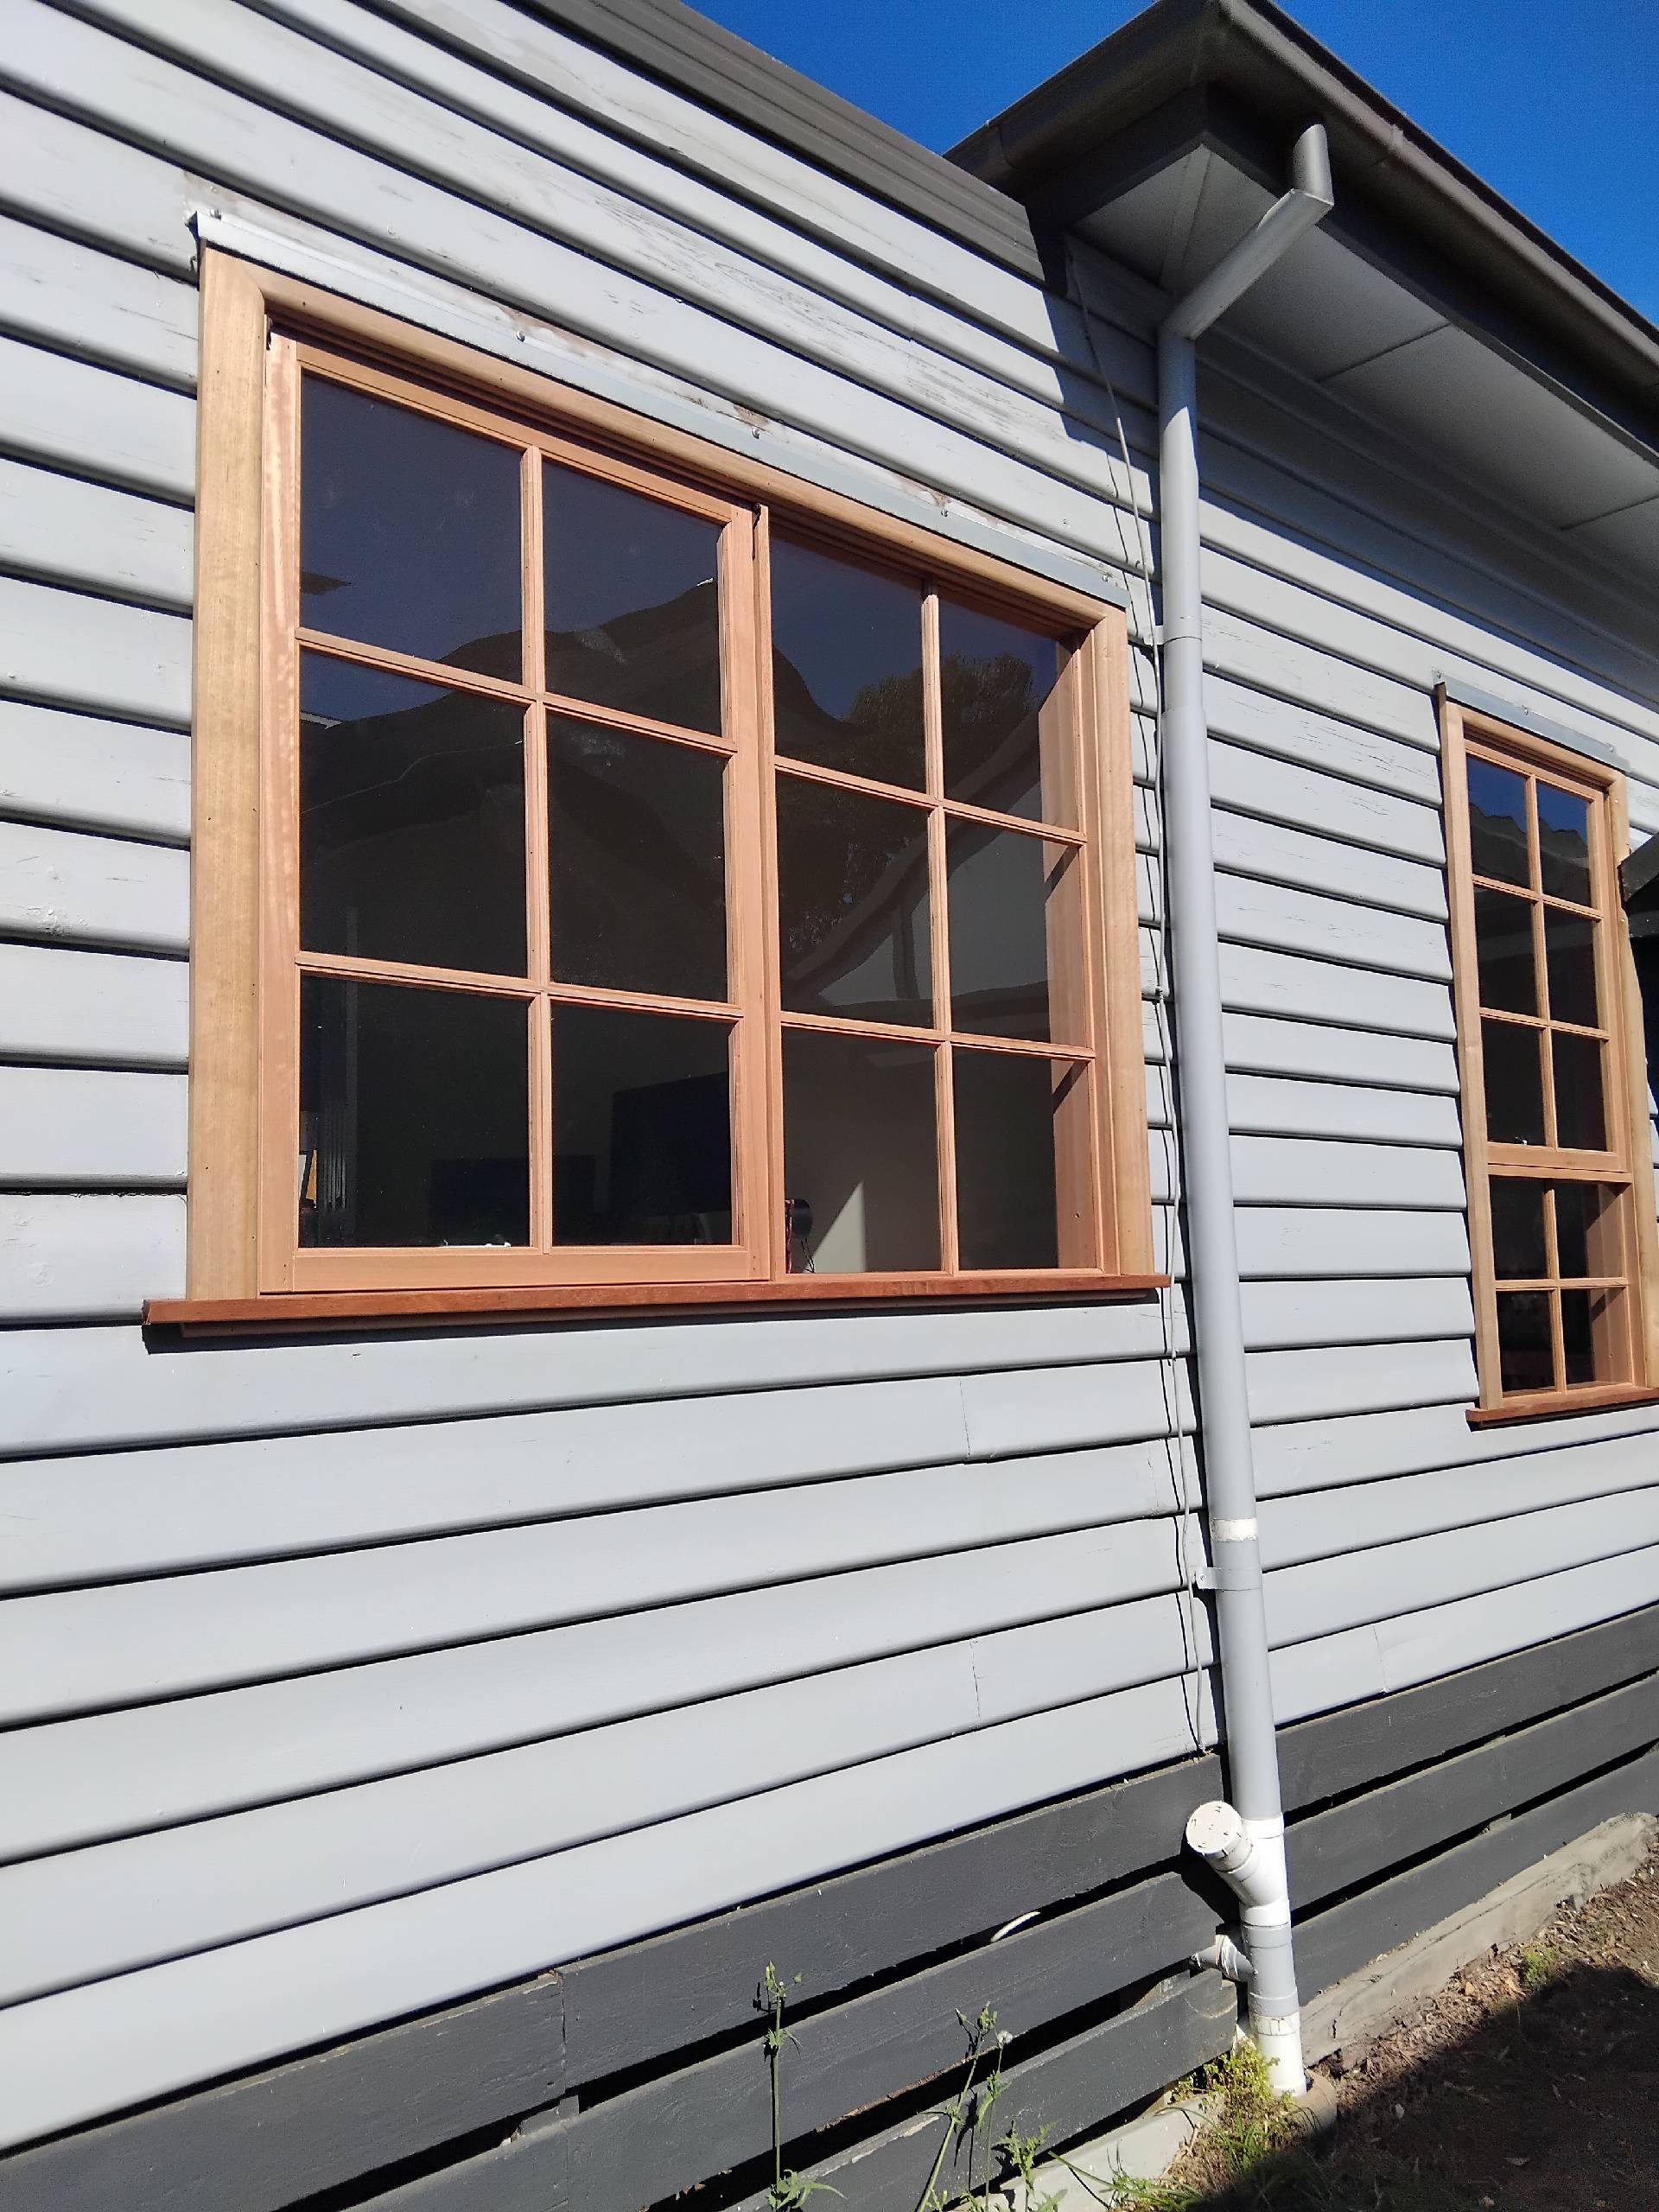
Choose Timber and Finish
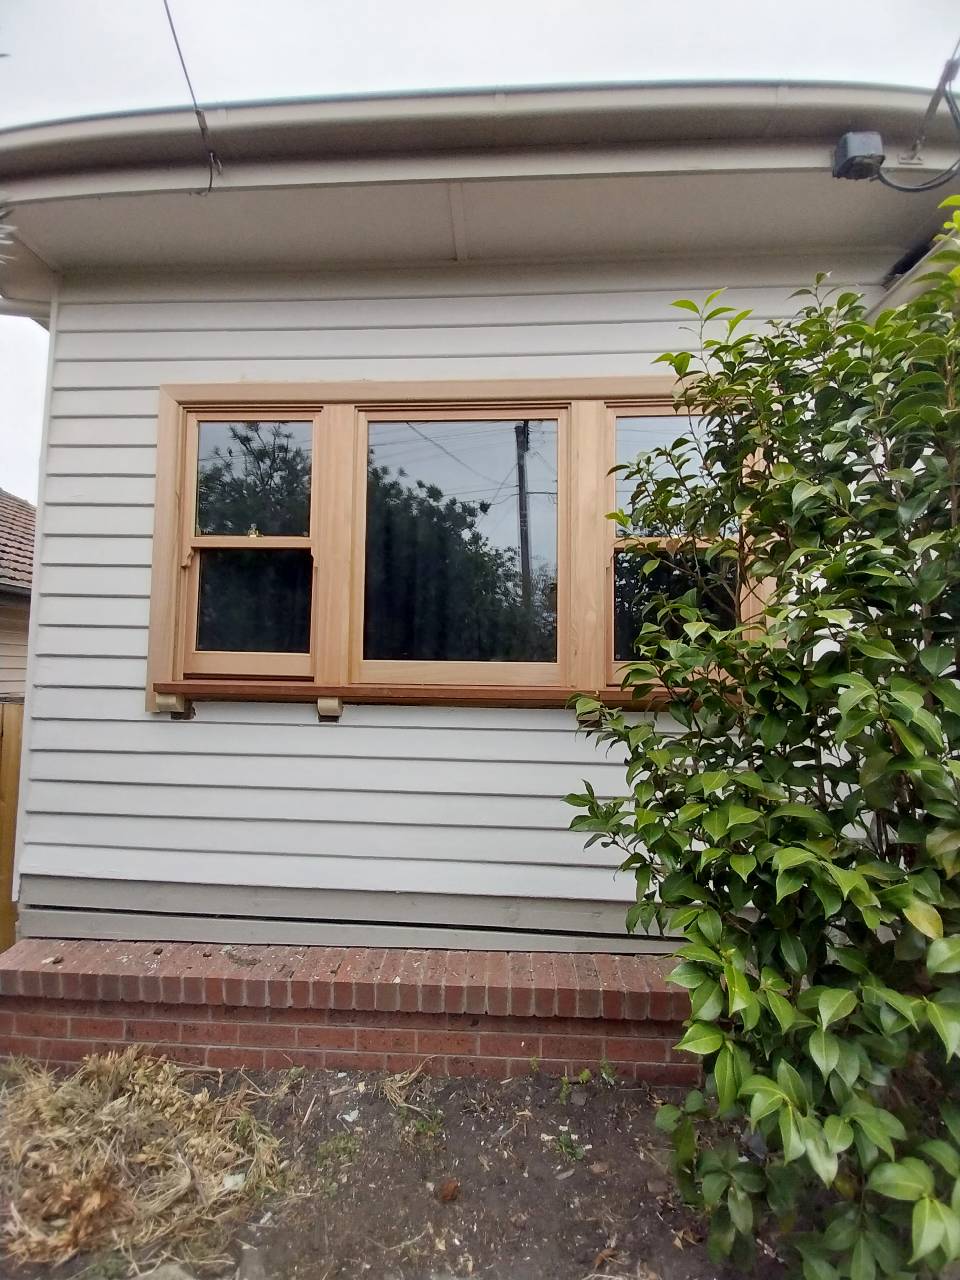
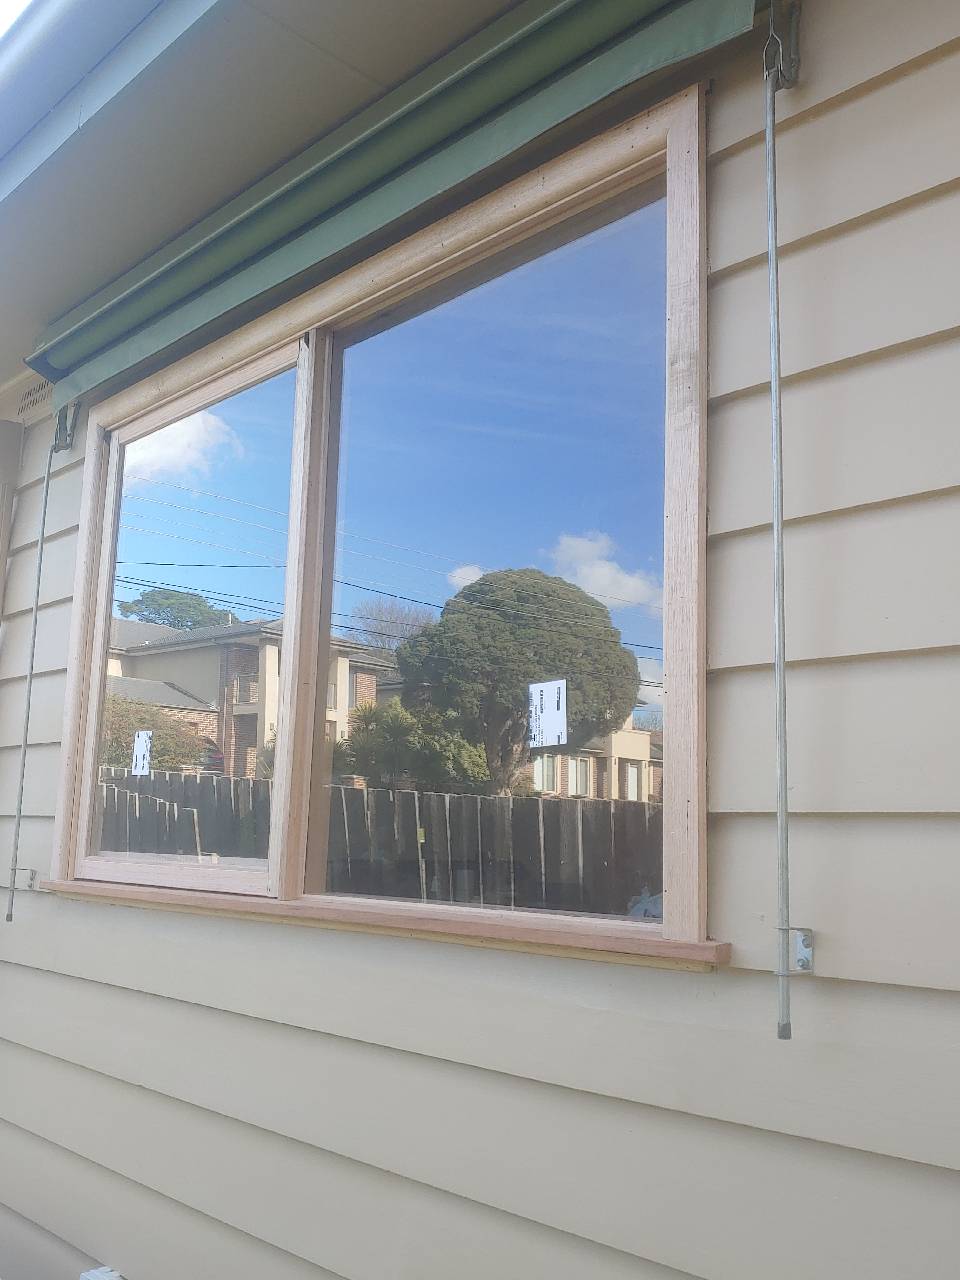
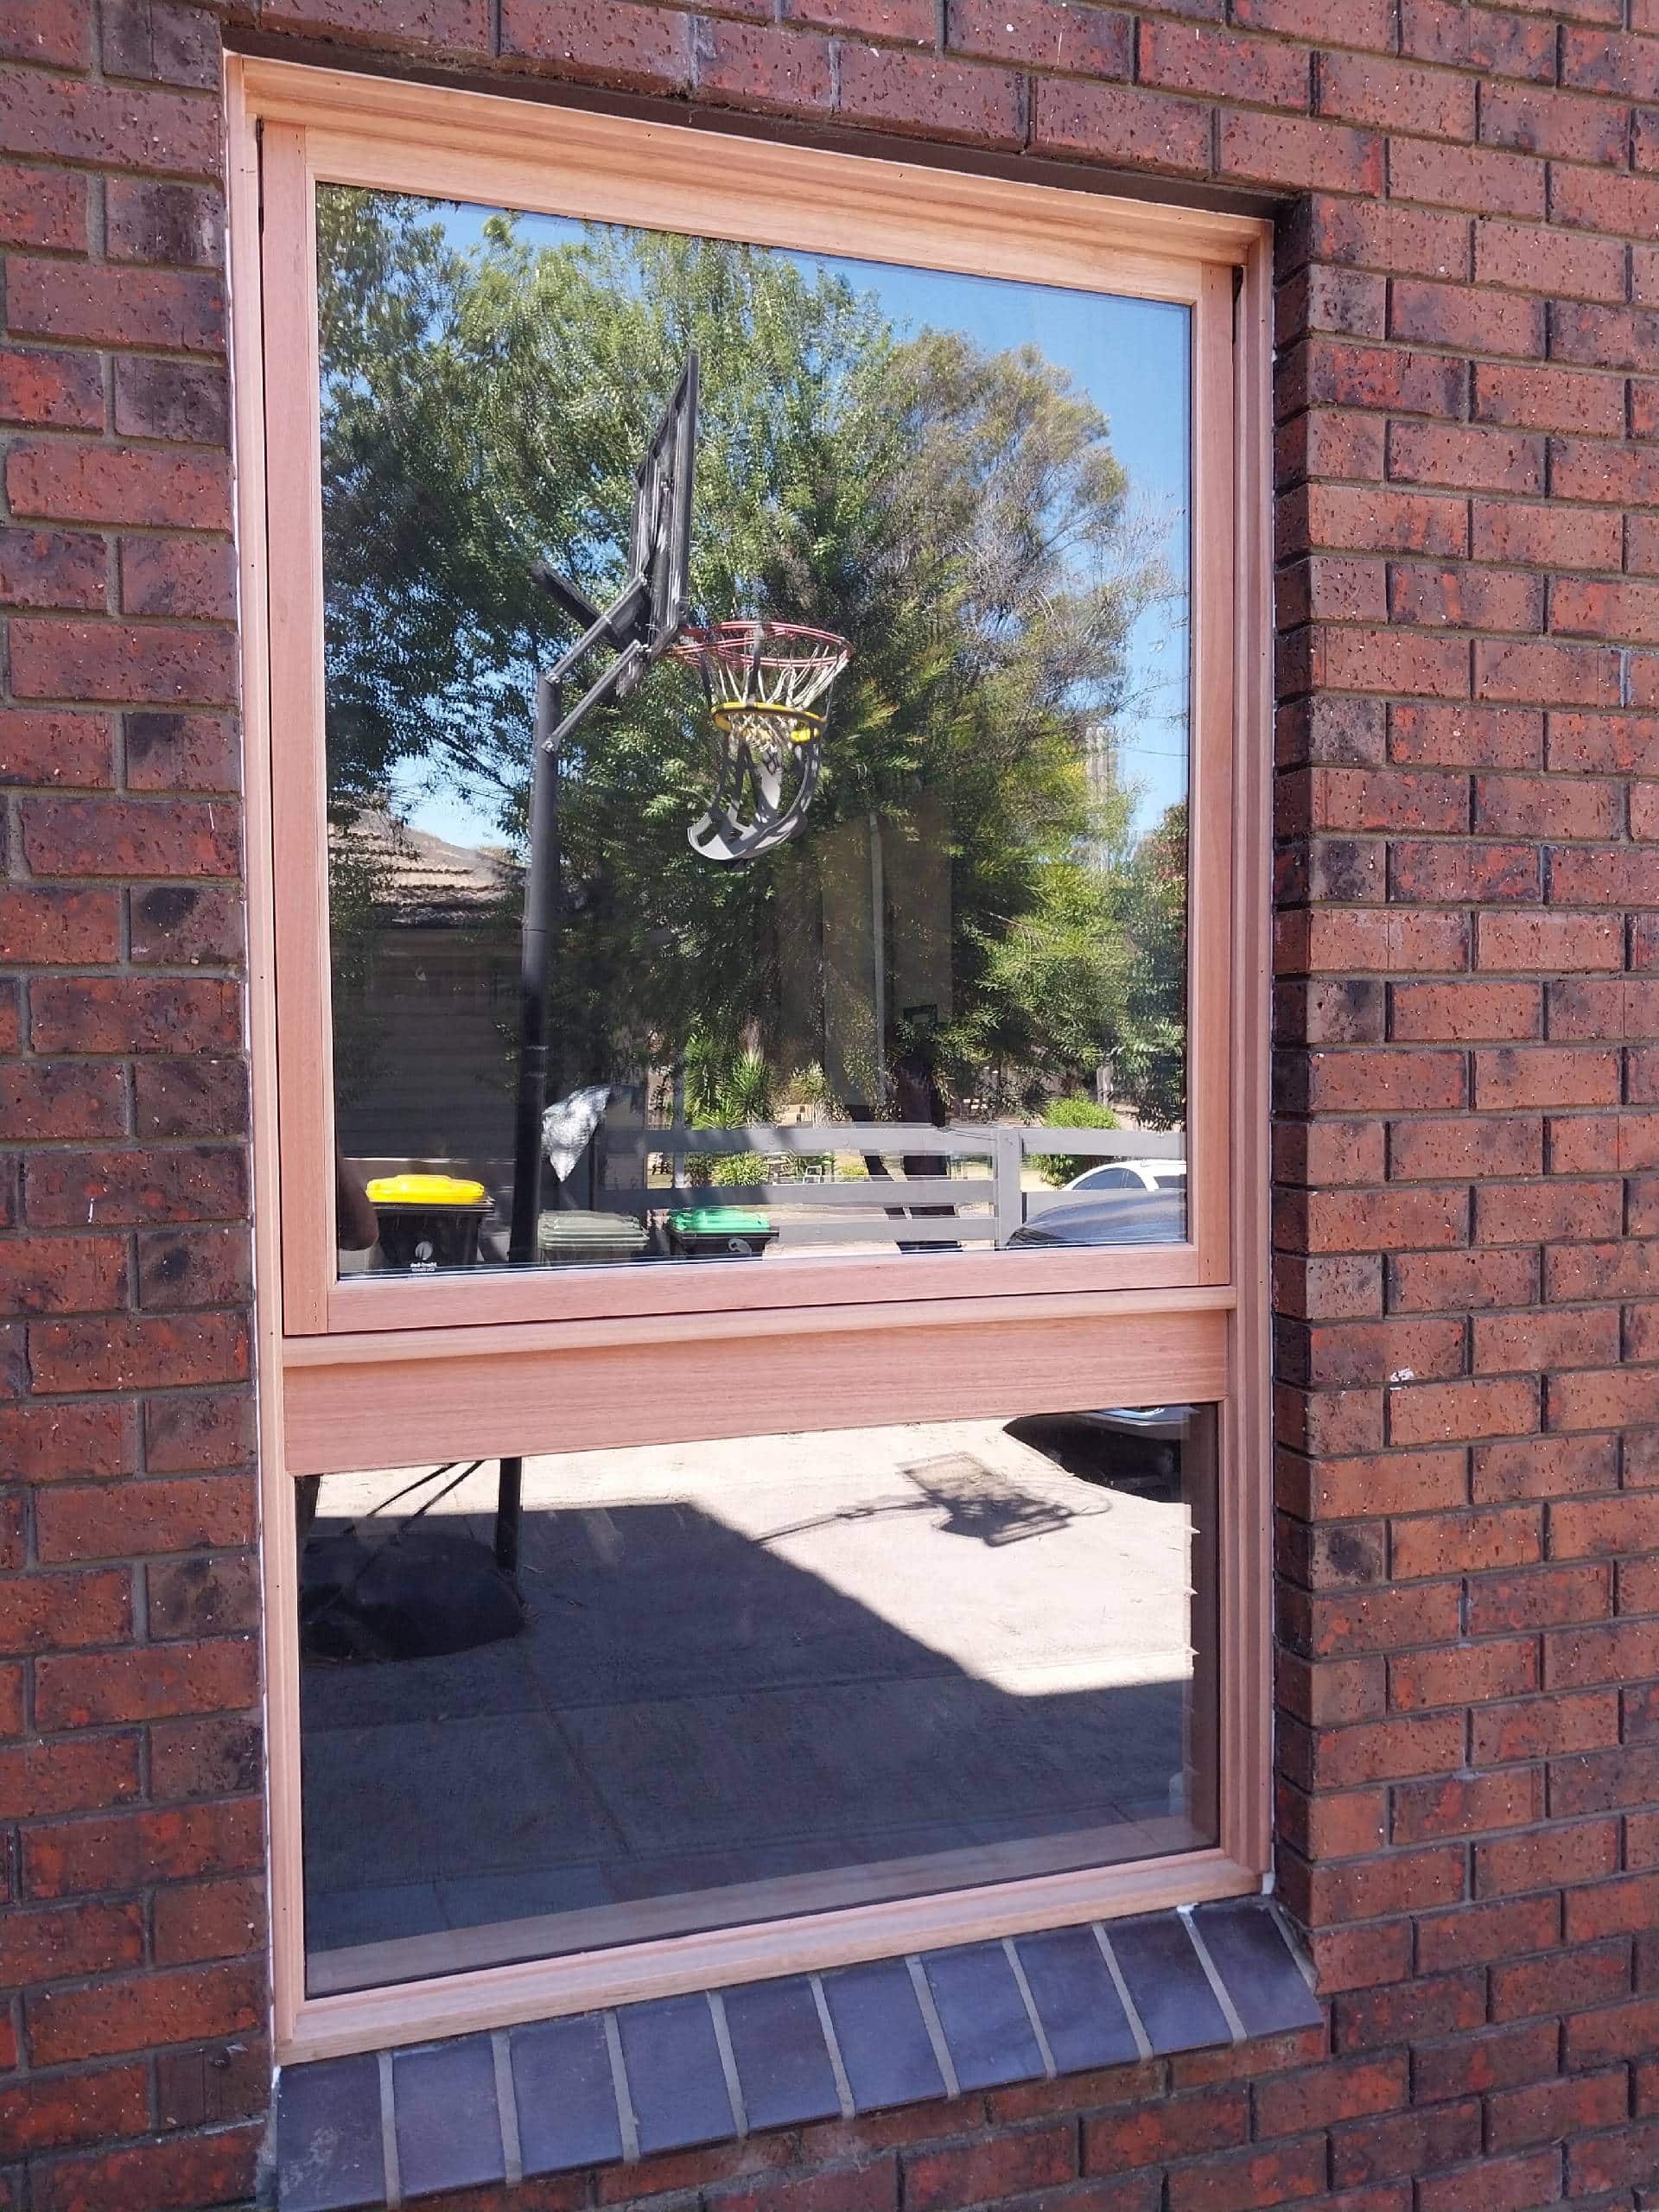
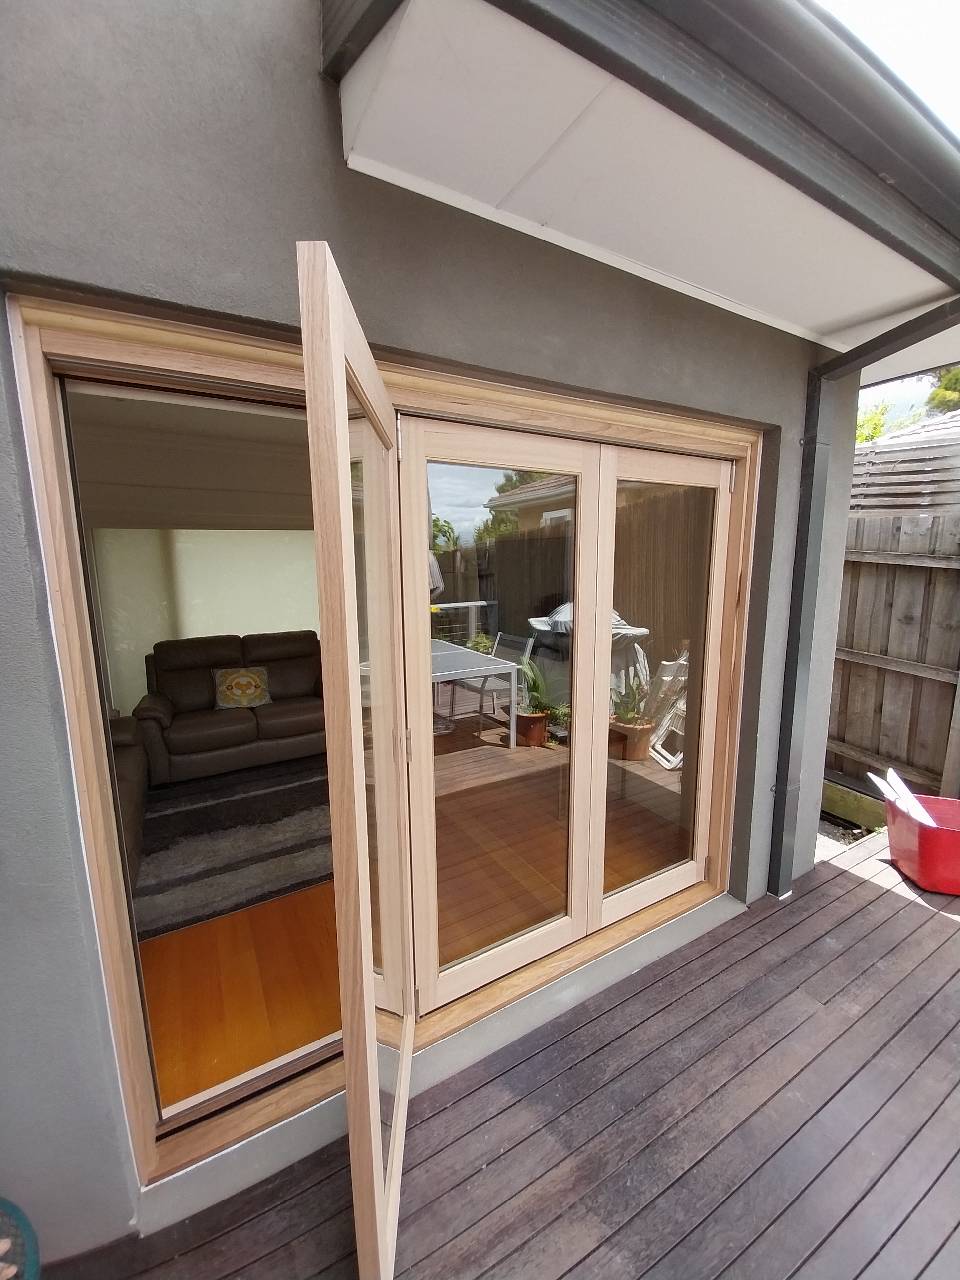
Selecting the right timber and finish can transform your home’s look and feel. Common choices include Vic Ash and Tassie Oak, known for their durability and beauty. Decide between paint or stain finishes, each offering distinct appearances. Painted windows provide a classic look, while stained ones showcase the wood’s natural grain. Your choice of timber impacts maintenance needs and longevity. For a sustainable option, choose responsibly sourced hardwoods, ensuring your windows remain a beautiful feature for years.
Energy Performance Options
Improving your home’s energy efficiency starts with window selection. Consider double glazing to reduce heat loss; it can lower energy bills significantly. Evaluate the U-value, measuring thermal performance, and the Solar Heat Gain Coefficient (SHGC) for optimal energy savings. Draught seals further enhance performance by blocking unwanted airflow. Investing in energy-efficient windows contributes to a comfortable home environment and reduced energy costs.
Heritage Detailing Considerations
Melbourne’s rich architectural history demands attention to heritage details. If your home is heritage-listed, ensure your window designs meet specific criteria. This might include matching existing profiles or using traditional materials. Customisation options allow you to maintain your home’s character while upgrading its performance. Consult with experts to preserve historical integrity while enjoying modern benefits.
Installation and Aftercare
With your specifications nailed down, the next step is a smooth installation process followed by diligent aftercare.
Site Preparation Steps
Preparation is key to a hassle-free installation. Start by clearing the area around your windows. Remove curtains, blinds, and nearby furniture. Ensure clear access for installers to work efficiently. Protect floors with drop cloths to prevent damage. Proper preparation reduces disruptions and speeds up the process, making way for your beautiful new windows.
Installation Sequence Explained
Understanding the installation sequence helps set expectations. Installers typically remove old windows, prepare openings, and fit new units. Each step requires precision to ensure a perfect fit and finish. Professional teams, like ours at Noremac, handle this with care, from removal to sealing. Expect some noise and dust, but rest assured, installers clean up thoroughly, leaving your home neat.
Aftercare and Maintenance Tips
Once installed, proper aftercare extends the life of your windows. Regular cleaning and maintenance preserve their appearance and function. Check seals and hardware periodically, addressing any issues promptly. Wooden windows may require repainting or re-staining over time to maintain protection. Following these simple tips ensures your investment remains a valuable feature of your home for years to come. For comprehensive installation guidance, explore this resource from Hipages.
By following this checklist, you’ll navigate your timber window replacement with confidence, ensuring a smooth and successful project.
Similar Posts
How to choose a timber window installer in Melbourne: a practical checklist
Choose a Melbourne timber window installer prioritizing quality, reliability, local expertise, and comprehensive services. Noremac offers sustainable materials, in-house installation, and free quotes for seamless upgrades.
How to choose a timber window installer in Melbourne: a practical checklist
Choose a local, experienced timber window installer like Noremac in Melbourne for quality craftsmanship, accurate measuring, custom options, efficient installation, and comprehensive aftercare.
Timber Window Quotes: The Complete Checklist for Melbourne Homes and Builds
This guide details key elements for timber window quotes in Melbourne, covering specifications, performance ratings, finishes, installation, and aftercare. Noremac offers custom, sustainable windows with full supply and install services.